
So, you’ve heard good things about drip irrigation for the home garden, but it still sounds intimidating. Are you still stretching a hose out to water your plants or even using a sprinkler?
There really is a better way and there are many compelling reasons to install your own do-it-yourself (DIY) drip irrigation system. The obvious benefit is saving water. A drip system can be 90-95 percent efficient compared to hand watering. It will save time and labor, even operating automatically while you are on vacation.
Drip systems can be used in flower and vegetable gardens and even for container plants. Drip systems can reduce weeds and disease making for healthier plants.
DIY drip systems are affordable and no plumbing or hydrology skills are needed. Starting simple is the key and here are a few tips to get you going.
Remember, have fun! You can play with all sorts of gadgets, including bubblers, micro sprinklers, misters, foggers, risers, swivels and more.
Drip systems are easy to modify so you don’t need to try everything at once. You can buy a very simple kit for less than $20. However, to design a simple system you don’t need a kit, just a little information, a sketch and a few trips to the hardware store. There are some great resources available to get you started, including free “how to” guides at the hardware store. Get a guide, take it home and do a little planning before you buy anything.
How-to on DIY drip
First, lay out the drip system on paper. Starting from your outside faucet, the basic drip system will include a hose end timer, a backflow preventer, a pressure regulator, a filter (or combination regulator filter), a swivel compression adapter, distribution tubing to carry water to the emitters, and emitters which apply water to the plants.
Start with two types of emitters; an adjustable dripper and a quarter inch inline drip or soaker hose. These two can adjust to all your different water needs.
Next, purchase your components. For beginners, local stores are recommended for easy returns. Notice when buying drip system components, there is a difference between a hose thread and a pipe thread. Stick with one or the other to reduce the need for adapters.
No special tools are required except a tubing hole punch, so to make installing the emitters less frustrating consider purchasing one.
Finally, install your system. With the exception of the distribution tubing and emitters, parts will screw together. Connect distribution tubing to the swivel compression adapter by firmly pushing the tubing into the adapter (no tools needed). Distribution tubing is inexpensive, so allow extra length for mistakes.
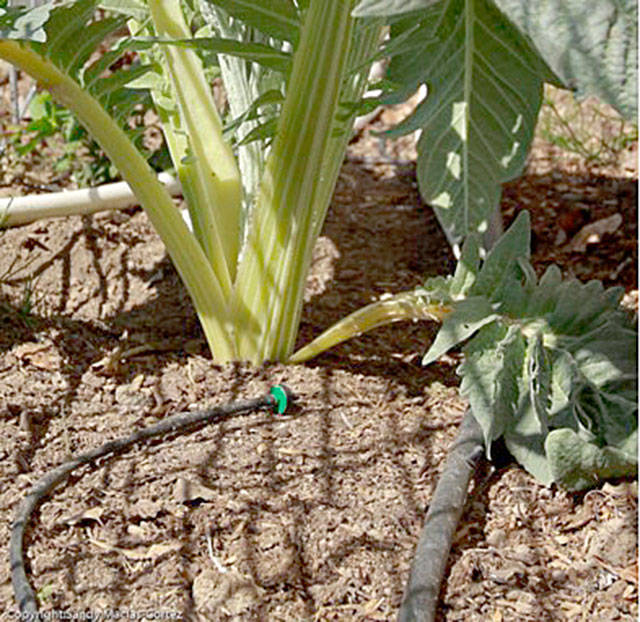
Connect emitters to the distribution tubing by punching a hole in the tubing where each emitter is needed, and insert the barbed end of the emitter into the tubing.
You can plug emitters directly into the distribution tubing or you can add quarter inch tubing from the main distribution line for outlying plants or pots.
Take care at this stage to keep dirt out of your line.
When complete, you can cover the tubing with mulch.
So, are you considering a drip system? An excellent resource can be found at pubs.wsu.edu.
Enter “FS030E” in the search box for the WSU publication “Drip Irrigation for the Yard and Garden.”
Also, mark your calendar the June 14 Brown Bag Talk, “Installing Drip in a Day.” Brown Bag talks are held from noon-1 p.m. in the commissioner’s meeting room at the Clallam County Courthouse and are free of charge.
Susan Kalmar is a Clallam County Master Gardener.