Growing plants from seeds is fun and rewarding! This hands-on project for kids will increase your child’s basic knowledge of plants and improve their observation and communication skills. It will also allow your child to observe a part of the plant that is rarely seen by most gardeners: the roots.
Your child will need the following materials to complete this project:
• A clear plastic cup (8 oz.)
• Aluminum foil, a strip of dark paper (the height of the clear plastic cup) or an opaque cup that is a little larger than the clear plastic cup (8-10 oz.)
• A pointed object that can put a small hole in the bottom of the clear plastic cup
• Potting soil
• Seeds for planting (such as radish, bean, corn, pea, sunflower, squash or marigold)
A variety of seeds will make the project more interesting because they sprout at different times and grow at different rates. Large seeds are easier for young children to handle, but be aware that seeds can pose a choking hazard for very young children.
Instructions
1. Walk your child through the following steps but let them do as much of the work as possible.
2. Soak the seeds in water over night. This will help them sprout more quickly.
3. Carefully put a hole in the bottom of the clear plastic cup for drainage.
4. Fill the clear plastic cup with potting soil leaving a little room at the top.
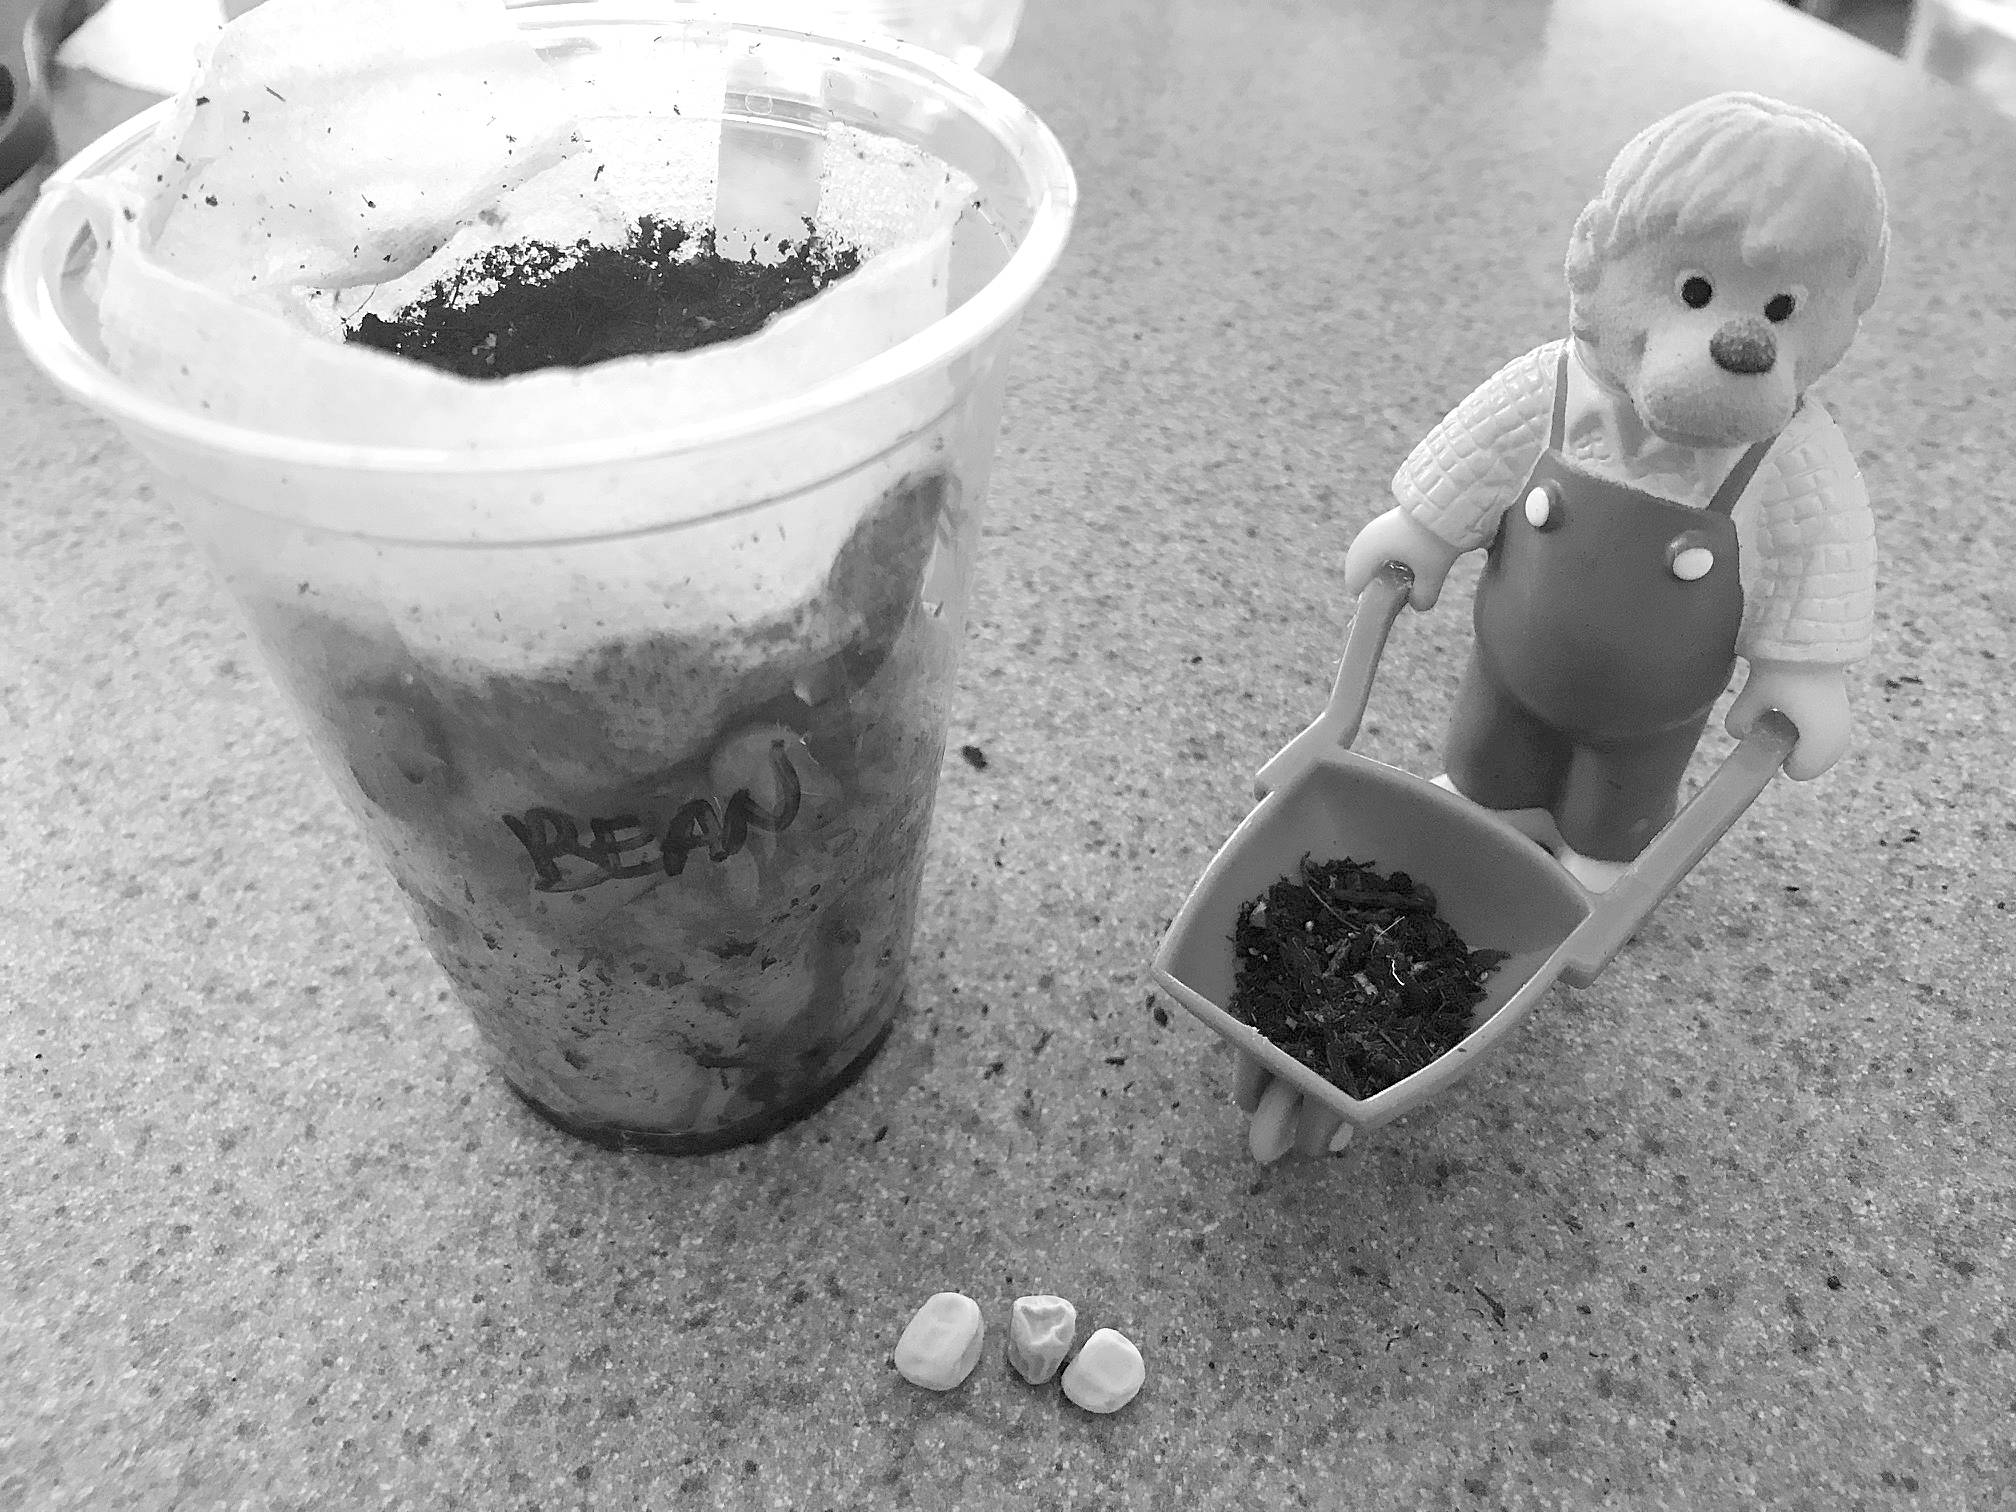
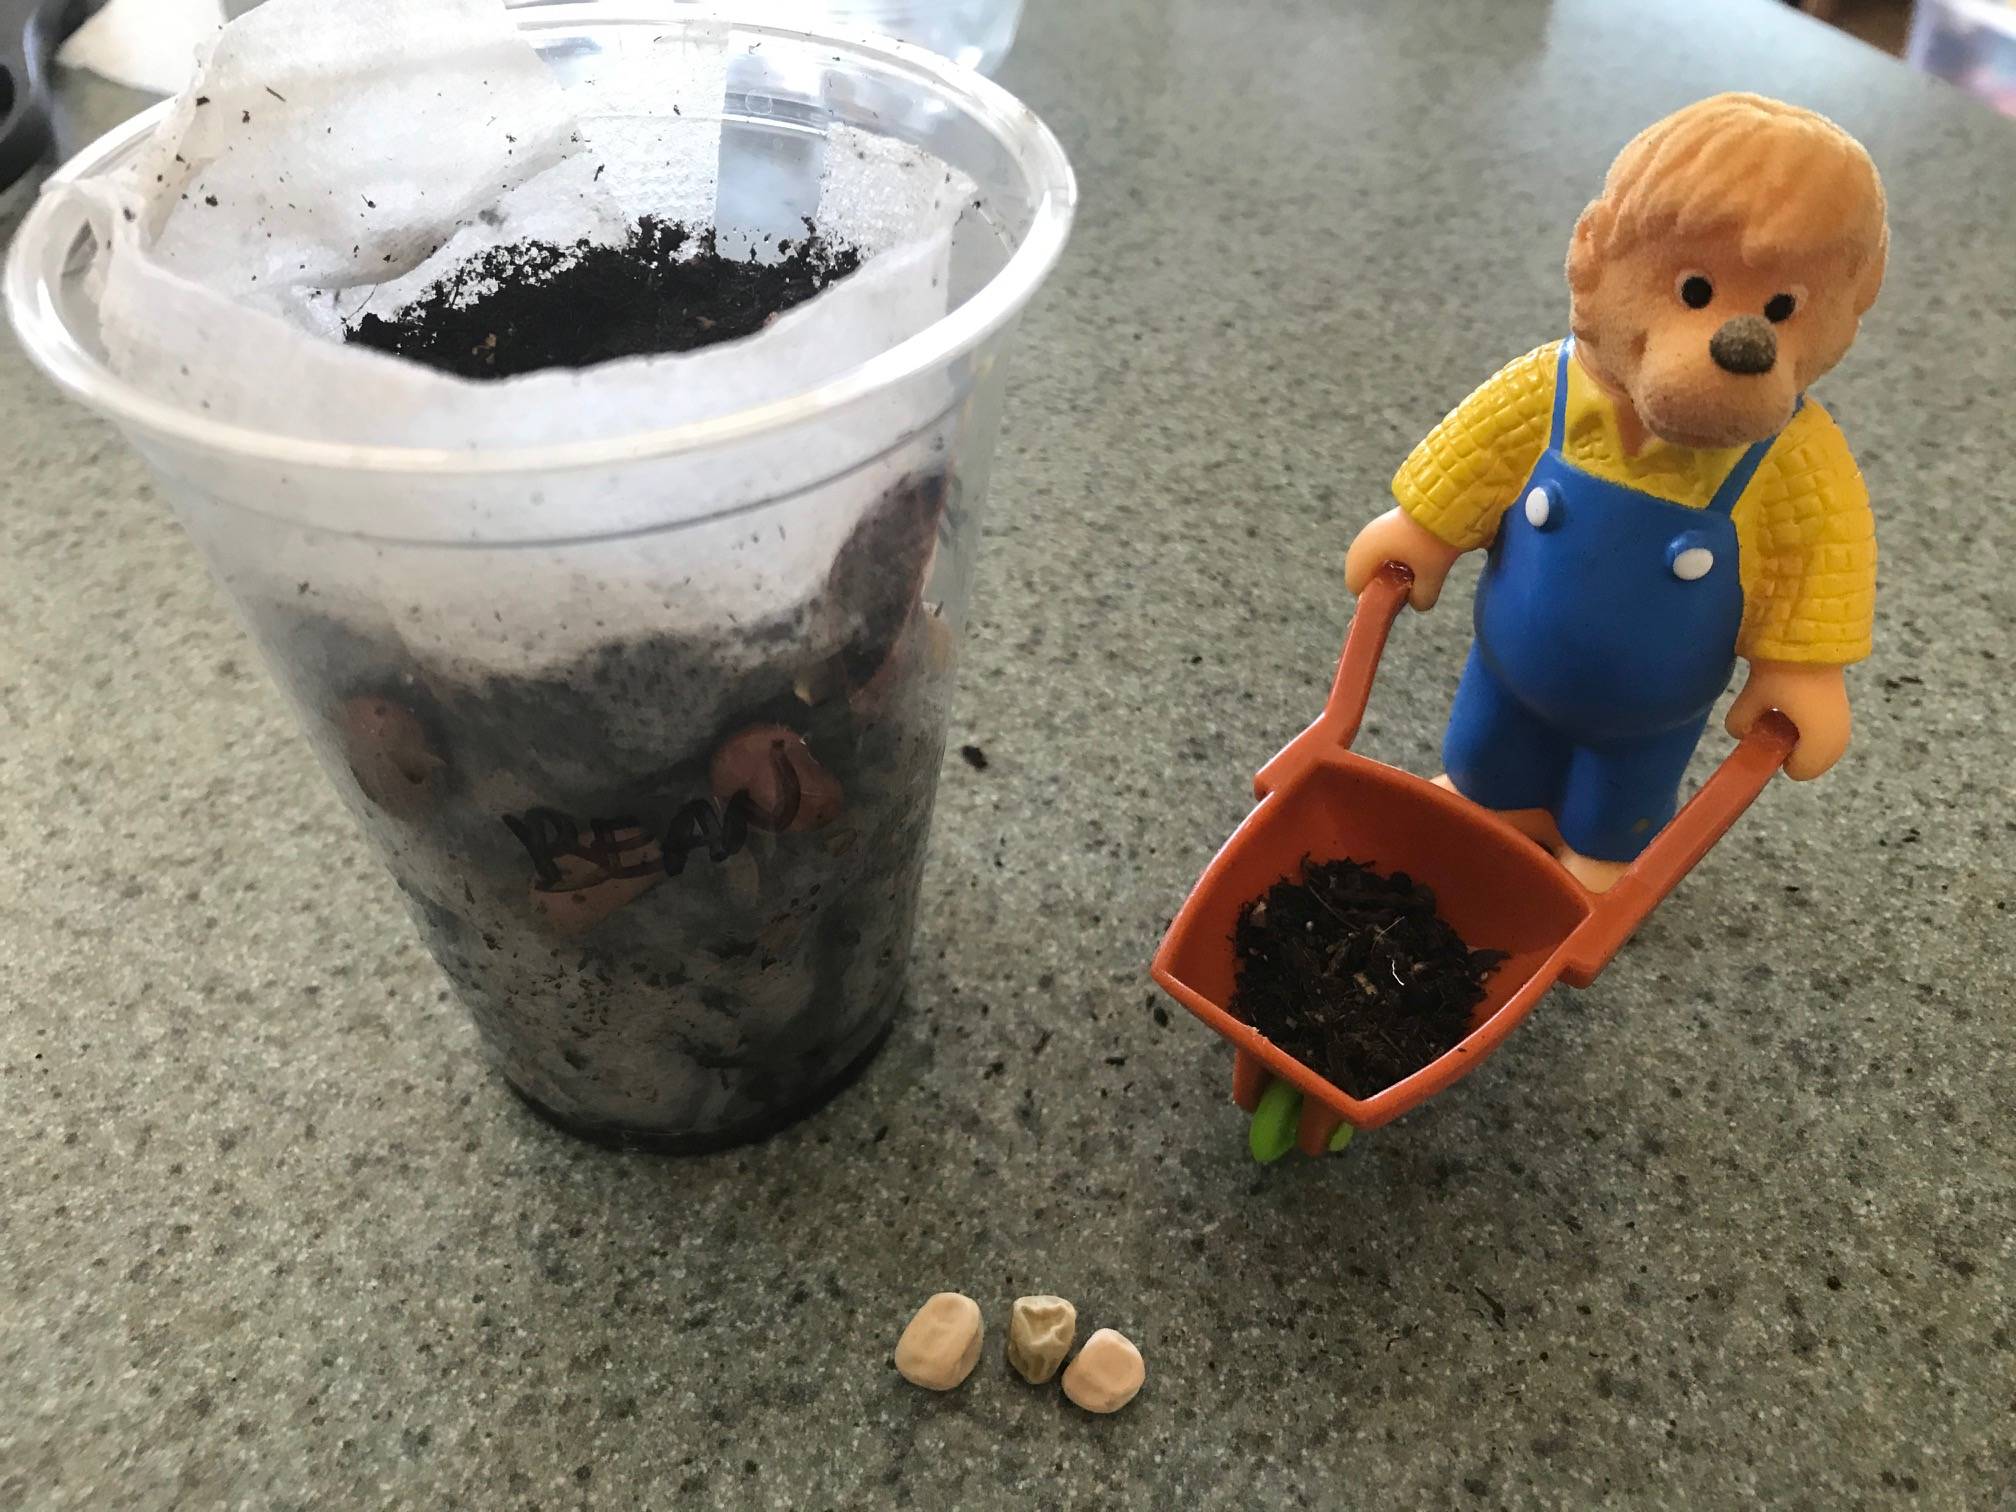
5. Using an index finger, push one seed down into the soil near the edge of the cup. You want to be able to see the seed from the outside.
6. Plant two or three more seeds around the edge of the cup, providing plenty of space in between.
7. Water very gently. Do not over water the cup, but make sure the soil is moistened.
8. Set the clear plastic cup into a larger opaque cup or wrap it in aluminum foil or a strip of dark paper. If you do not shield the seeds from light, the roots will grow away from the light and you will not see them.
Put the root viewer in a sunny window. Water a little only when the soil dries out.
On a daily basis, encourage your child to remove the outer shield of the root viewer long enough to look at what lies underneath. A magnifying glass will help in examining the roots and developing seedlings.
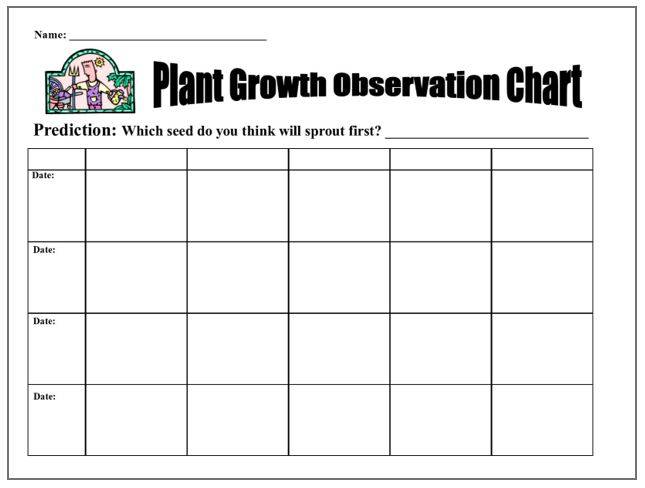
Encourage your child to draw or describe in words what they are seeing (use graph at upper right of page). They can also take photos.
Photos sent to editor@sequimgazette.com as an email attachment may be printed in a subsequent issue of the Sequim Gazette (as space allows) with your child’s name and age.
Get thinking
Ask your child questions to help them learn about seeds and roots:
• What does a seed need to grow?
• Which seed do you think will sprout first?
• What comes first, the roots or the shoots?
• What might make a seed grow faster or slower?
• What do the roots do? What do the shoots do?
• Do the roots and shoots from different seeds (different plants) look the same?
• What do the first leaves look like? Are they different from later leaves?
After the seedlings develop a good root system and several leaves, your child can transplant them. For cold weather plants, such as peas and radishes, the plants can be transplanted directly into the garden. For warm weather plants, such as corn and sunflowers, the plants may need to be transplanted into a larger pot (and kept in a sunny window a bit longer) before they are put into the garden.
Get kids growing
Most children love to explore the outdoors, so why not let them tend a small garden? There is something magical about planting a seed and watching it grow. Children should start with a gardening project that they can enjoy and will be successful. Younger children need a small, simple project with lots of supervision; be patient and enthusiastic.
Your child’s project could be a small raised bed, a corner of the yard, or just a container garden. Pick a sunny spot with well-drained soil and easy access to water. Help prepare the spot by pulling the weeds and mixing in organic compost to help enrich the soil. If you have clay soil, a raised bed or a container garden may be a better solution.
A container garden can be a simple project. The pot needs to be large enough to support the plants, hold soil without spilling, and have never held a product that is toxic to plants or people. It also needs to have drain holes in the bottom. For best results, fill it with commercial potting soil.
Decide which seeds to plant. Children enjoy eating the food they grow. Peas can be planted early in spring, and the seeds are large enough for easy spacing. Bush peas do not require a trellis, but if you have the space it is fun to watch the vines grow up the trellis arms. Snap peas are good to grow as they are so tasty when eaten raw.
On a warm weekend in May, plant some radishes, carrots, and lettuce seeds. The seed packets will tell you the correct planting depth and spacing. When the plants are a couple of inches tall, thin them and pull any weeds. Radishes grow quickly and are ready to harvest in 2 to three weeks, but most vegetables take much longer.
Pole beans can be grown on long stakes tied at the top to look like a tee-pee. Try the Native American idea of the “Three Sisters” by planting corn first, then pole beans beside the corn to grow up the stalks and the third sister: squash or pumpkins.
In June, add some plant starts such as broccoli, tomatoes, cucumbers or squash (these need warm weather to start). If you have a lot of room, pumpkins are fun to grow; you just need room for the vines to spread out.
Remember to teach children to never eat any plant without asking an adult first.
Watching a garden grow through the eyes of a child is exciting and wonderful. Your child will gain a new appreciation about where their food comes from and enjoy planting, tending and harvesting their own little vegetable garden.
Original article written by Master Gardener Virginia Nelson; edited for length.