
By Judy English
For the Sequim Gazette
Growing microgreens is a fun and rewarding project for both the experienced and inexperienced gardener.
Microgreens are vegetables harvested in 10-14 days after they sprout when they are still small and tender. Microgreens add nutrition, flavor and texture to salads, sandwiches and stir fries.
Microgreen seeds can be bought as a “microgreen mix” in different varieties ranging from mild to spicy or you can use almost any organic vegetable seeds.
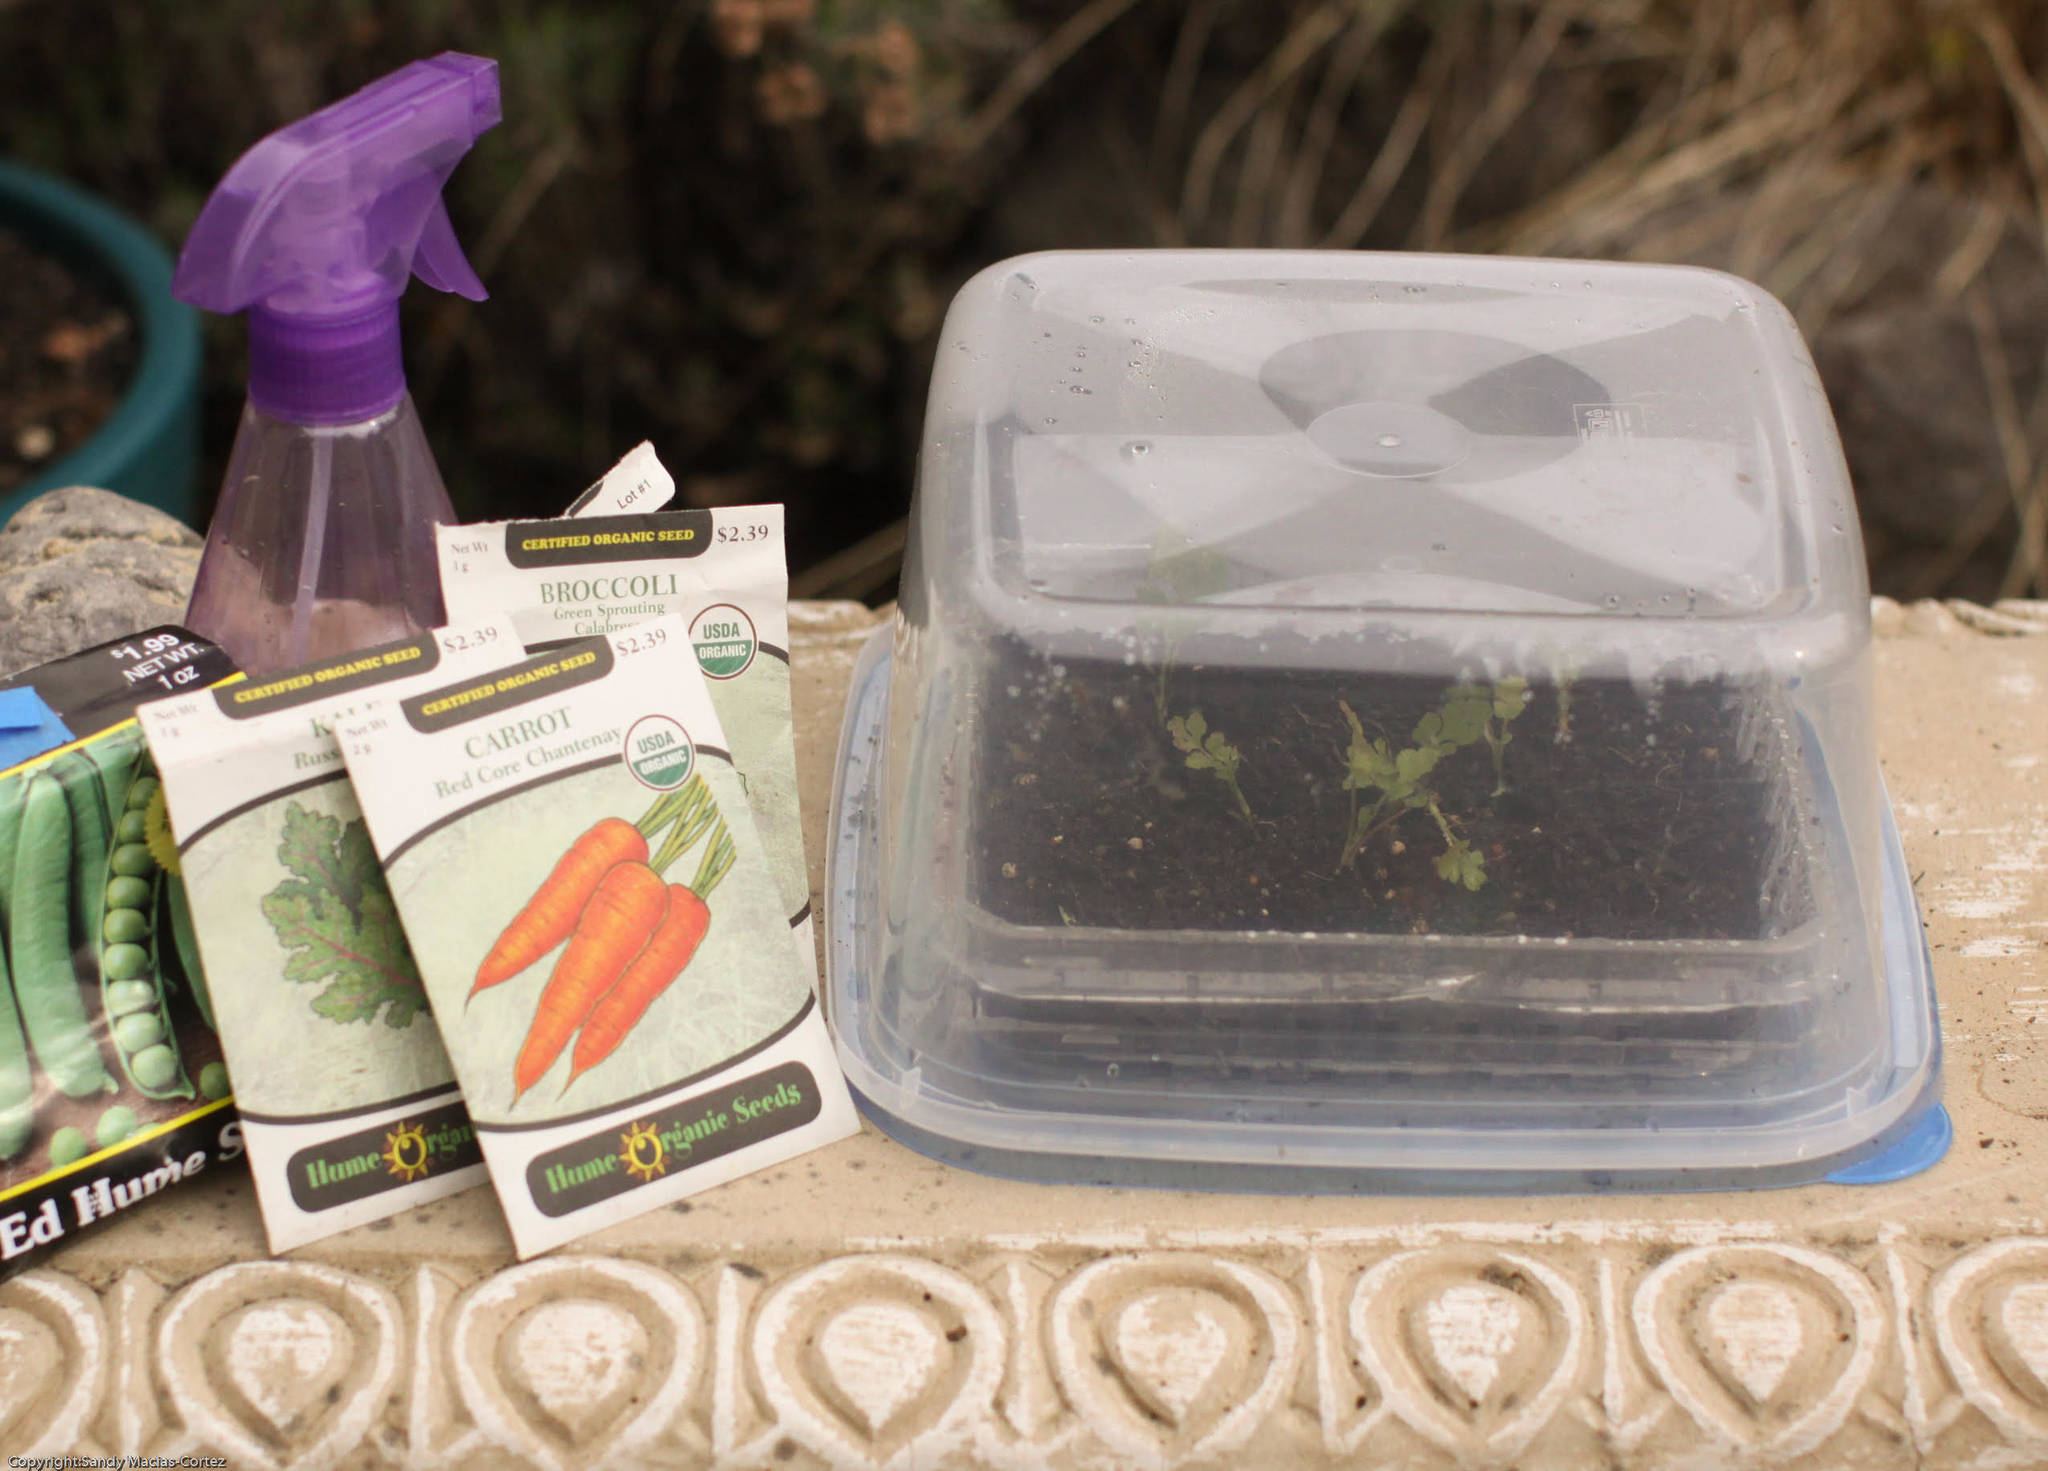
Supplies needed to grow microgreens: Seeds, potting soil, shallow plastic trays with drainage holes (such as recycled clam shells in which fresh berries are sold), a bottom tray that can hold water, a plastic dome/plastic wrap to cover growing trays during germination, and a spray bottle of water.
Seeds to use for growing microgreens: Prepackaged microgreens seed mix or vegetable/herb seeds such as beets, broccoli, green beans, kale, peas, radishes, turnips, Swiss chard, carrots, salad greens, mustard greens, basil, parsley and cilantro.
To plant
Fill the shallow trays that have drainage holes with 1-1/2” to 2” of potting soil. Microgreens require very little soil so be frugal with it. Water the soil evenly and let the soil drain before planting seeds evenly ¼”- ½” apart. Gently press seed into the soil and cover lightly with potting soil.
Keep covered with plastic dome or plastic wrap until you see the first signs of growth. Soil temperature for germination should be ~75 degrees. A seed starter heat mat can be used to ensure adequate temperature.
Soil temperature after germination should be ~60 degrees; air temperature after germination should be ~65-70 degrees.
After they have sprouted, mist microgreens daily. Be careful not to over-water, as it can lead to disease.
Good lighting is needed to grow microgreens indoors. A windowsill will work if you have a minimum of four hours of sunshine; rotate trays to prevent plants from leaning toward the sun. Grow lights will also work.
Fertilizer (if used) should be added to the soil at the time of planting and not sprayed on after the seedlings have emerged. Considering how quickly the sprouts reach maturity, fertilizer is usually not necessary.
Keep the microgreens away from drafty windows and heat registers.
Check the microgreens daily as they grow very quickly.
To harvest
Wait until the microgreens are 1-2 inches tall and have true leaves (not the seed leaves which are the first leaves to emerge after a seed sprouts). Microgreens can be harvested all at one time or a few at a time by cutting with a scissor or a sharp knife.
Do not disturb the soil and roots. Wash thoroughly but minimize handling as these are tender greens and can damage easily. Microgreens can last in the refrigerator from 5-10 days.
Unlike some seedlings, once microgreens are cut the roots that remain in the soil will not grow more leaves. When all of your microgreens are harvested it is time to start the growing process again.
You can replant in the same soil leaving the tiny roots from the previous crop to decompose in the soil, or you can start with new potting soil.
Grow microgreens for use in your own kitchen and start extra trays to share with friends.
Judy English is a Clallam County Master Gardener.
