
The growing season for vegetables in the Pacific Northwest is notoriously short, making it difficult to grow some longer season vegetables in local gardens.
You might be able to get a jump on the growing season if you start with transplants.
You can grow your own transplants from seed. (For details on starting seeds indoors, see Get It Growing in the April 13 Sequim Gazette.) If you are new to gardening, it might be easier to purchase transplants rather than starting your own from seed indoors.
When buying transplants, choose varieties that will grow well in your microclimate. Local nurseries typically carry varieties appropriate to local growing conditions.
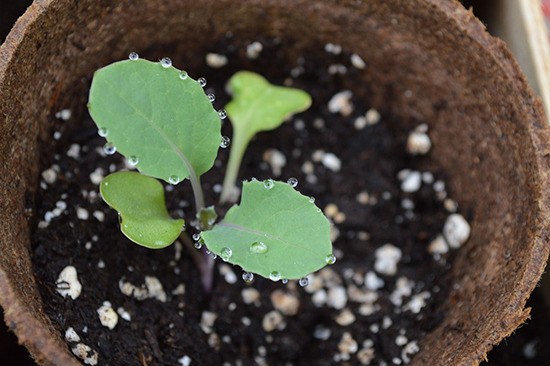
Choose sturdy, healthy-looking plants. Avoid plants that already have flowers, are beginning to yellow or have roots growing out of the bottom of the pot.
As the garden planting date nears, monitor your local forecast. Cool-season crops such as broccoli, lettuce and cabbage do well with daytime low temperatures of 60-65 degrees and nighttime lows of 45-50 degrees.
Warm-season vegetables such as tomato, pepper and eggplant should be transplanted outdoors later since they prefer 65-70 degree day temperatures and 55-60 degree night temperatures.
Whether homegrown or purchased, transplants must be “hardened off” before they are moved from the controlled indoor environment to the variables of the outdoor garden. (See sidebar, B-3.)
When planting day arrives, dig a hole that is about one inch wider and deeper than the transplant container.
If you want to add compost, dig the transplant hole one to two inches deeper and place one to two inches of compost in the bottom of the hole.
Transplants in a peat pot can be transplanted with the pot. If using a plastic starter pot, remove the plant from the pot.
If the plant has been in the container too long, it may be root-bound (the roots growing in a circle around the root mass).
Gently massage the root ball of the plant with your hand to loosen the roots or cut off the bottom roots if they are tightly bound. If you do not disrupt these tight, circling roots at the time of transplanting, they can seriously impair the growth of the plant.
Set the transplant into the soil so that it is slightly deeper than it formerly grew and fill the hole with native soil. Place one-half to one inch of soil over the top of the root ball and press down firmly so the transplant is secure.
When transplanting peat pots, be sure to cover the pot rim with soil to prevent it from wicking moisture away from the roots. Water the plant immediately to settle the soil around the roots and reduce shock.
Prepare a starter solution of liquid fertilizer following the directions on the container; do not use more fertilizer in the solution than is recommended because it can burn the delicate roots of the transplant. Apply a small amount of this solution around each transplant.
It is good to lay out the soaker hose while plants are still small to avoid damaging them. Apply two inches of mulch now to help retain moisture and discourage weeds.
With your transplants comfortably in the ground, you are well on your way to an early harvest.
Brown Bag it
For more gardening information, attend the Brown Bag Series at the Clallam County Courthouse. These free educational events are held at noon on the second and fourth Thursdays of each month. On May 12, local gardener Selinda Barkhuis talks about small space gardening.
Pearl of wisdom
Most vegetables can be successfully transplanted. Root crops, however, such as beets, carrots and radishes do not do well, so plan on direct-seeding them into the garden.
‘Hardening off’ transplants
Follow these steps to “harden off” transplants:
• For two days, move plants to a covered or protected outdoor area during the day and bring them in at night. Be sure to protect your plants from slugs and other pests when they are outdoors.
• For the next two days, move plants to a more exposed area during the day, but cover them (or bring them indoors) during the night.
• Thereafter, leave plants outside day and night with cover removed.
• By Day 7, plants should be acclimated to the outdoors and can be transplanted into the ground.
Judy English is a Washington State University certified, Clallam County Master Gardener.

