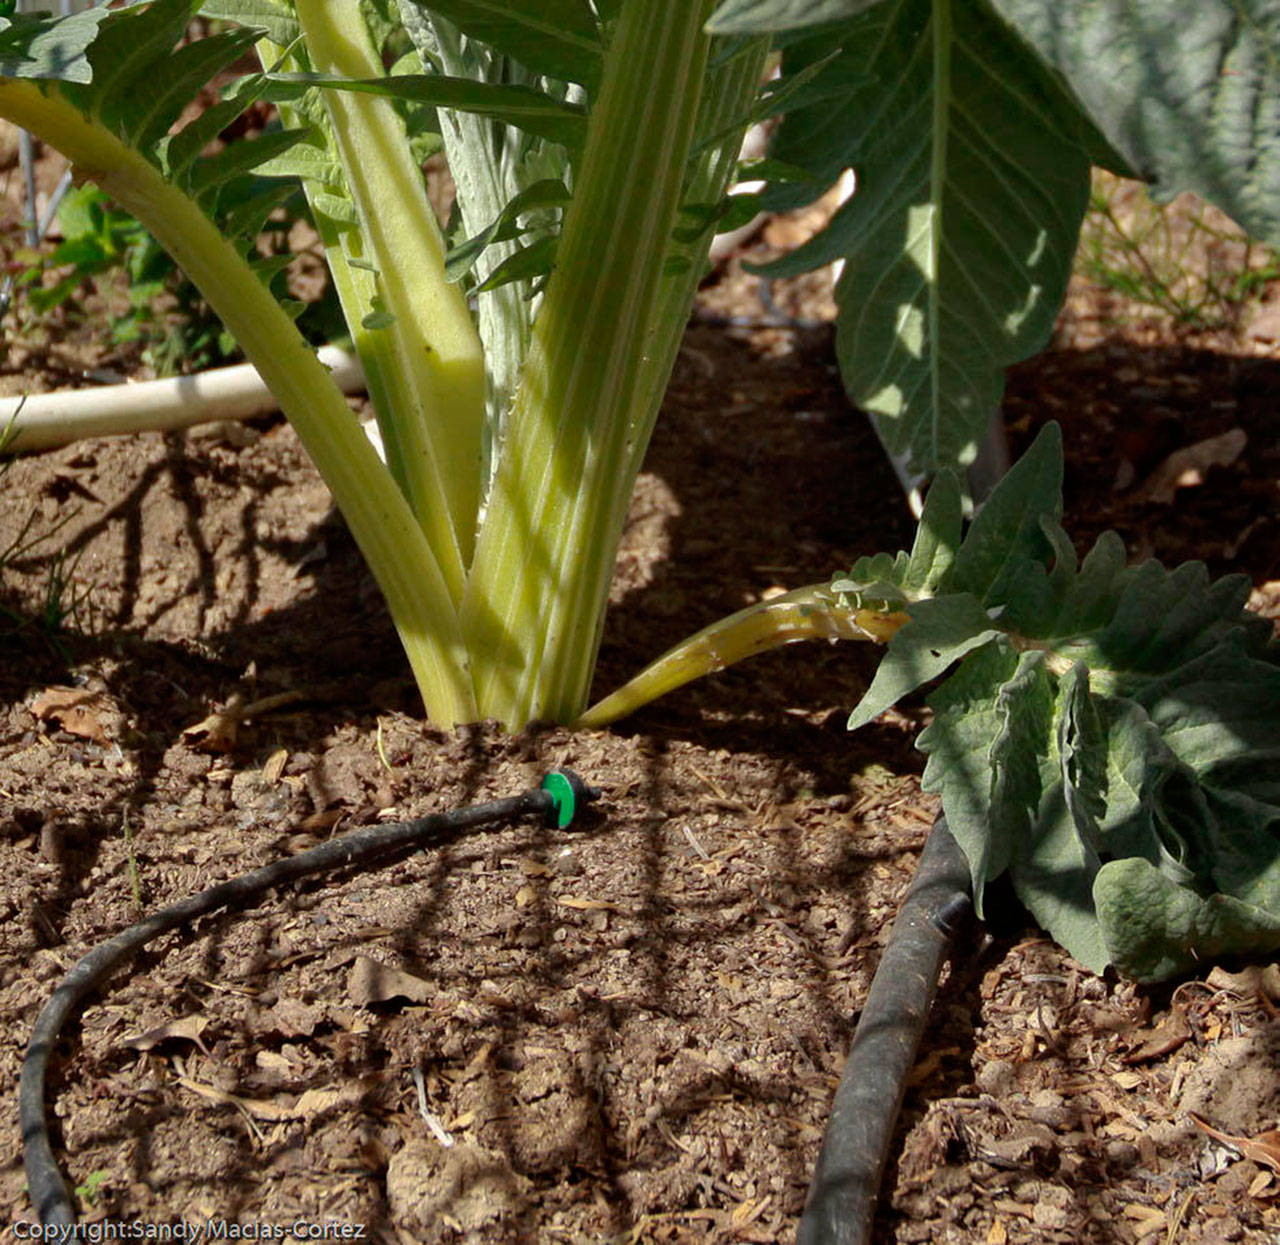
Summer is just around the bend and water-wise gardening is on our minds to keep plants happy and healthy into the fall. Water-wise gardening not only reduces utility costs, it supports conservation practices, and encourages healthier root growth for established plants.
Last week we explored how to determine how much water plants need and now we want to promote drip irrigation; an excellent method to deliver that water.
Drip irrigation is also known as low-volume irrigation due to the minimal amount of water necessary for your plants. For drip irrigation, flexible pipes and hoses are used to deliver water directly to each plant’s root zone. Water pressure and volume is controlled by emitter flow devices, which allow for less evaporation or runoff. Adjustments to the number of emitters and their flow rate can be made depending on the type of plant or its location, which will be discussed more below.
While this method is very useful for most gardening needs, it is not recommended for trees with trunks more than four inches in diameter or for turfgrass varieties. Drip irrigation will not appropriately saturate the root system for these plantings, so another watering method is recommended.
There are many details to consider before establishing a drip irrigation model. What is the desired location? Is there a water source close by? In what season(s) do you plan to use it? Is the location elevated or sloped? What is your budget? You will come across more questions and answers as you delve into some research.
Hydrozone is one of the most important details to consider when planning a drip system. It is exactly what the name describes: grouping plants into sections of your garden based on their watering needs. Hydrozones let you select the best time, delivery method, and amount of water for each section of your garden.
This allows you to more easily set timers and schedule routine watering, much like sprinkler system zoning works.
As with most watering schedules, in Clallam County the hours between 4-10 a.m. during the summer are the best time to water to prevent excess evaporation in the hot afternoons and excess water-foliage contact overnight, which can sometimes cause plant disease and rot.
If resources permit, an irrigation engineer or consultant can design and set up your drip irrigation system for convenience. If a professional is used, be certain to understand how it works and how to maintain and modify it as needed.
For do-it-yourselfers, a system does not need to be complicated or expensive and there are no costly tools required. What is required is research; there is an excellent irrigation tutorial website with helpful information for your planning phase (tinyurl.com/MGirrigate).
Drip irrigation is not a once and done solution to your watering needs. Once designed and installed, you will need to monitor your drip irrigation system for effectiveness and to see if further modifications need to be made. But it is an excellent delivery system that saves time, money, and resources and improves the health of your plants.
Along with other best practices such as mulching, it will keep your garden looking good. Seriously, mulch, mulch, mulch! Not only does it help prevent those pesky weeds from poking through, it complements a drip irrigation system and makes your garden even more water-wise by minimizing evaporation and transpiration.
For further resources on how best to begin, an excellent source for drip system planning and installation is Washington State University (WSU) Publication “Drip Irrigation for the Yard and Garden” found by going to pubs.extension.wsu.edu and entering FS030E in the search box.
Another good WSU source that discusses drip irrigation for food crops (and provides additional useful links) is foodsystems.wsu.edu/crop/irrigation.
Seven steps to implementing a drip irrigation system in your garden
1. Research: decide on the best location and plant selection.
2. Design/plan: Start small and simple, as drip irrigation systems can be easily expanded later.
3. Layout: visually lay out parts to assemble, as this will help you double check you have everything necessary.
4. Assemble and test: put the irrigation system together and turn it on!
5. Monitor: dig in the soil with a trowel to test the depth of saturation of water to determine if too little or too much.
6. Modify: adjust the emitters to plant or hydrozone specifications.
7. Maintain: routinely check your drip irrigation system and repeat steps 5 and 6 above as necessary, dependent on season and your garden needs.
Marilyn A. Marshall is a Clallam County Master Gardener intern.


